
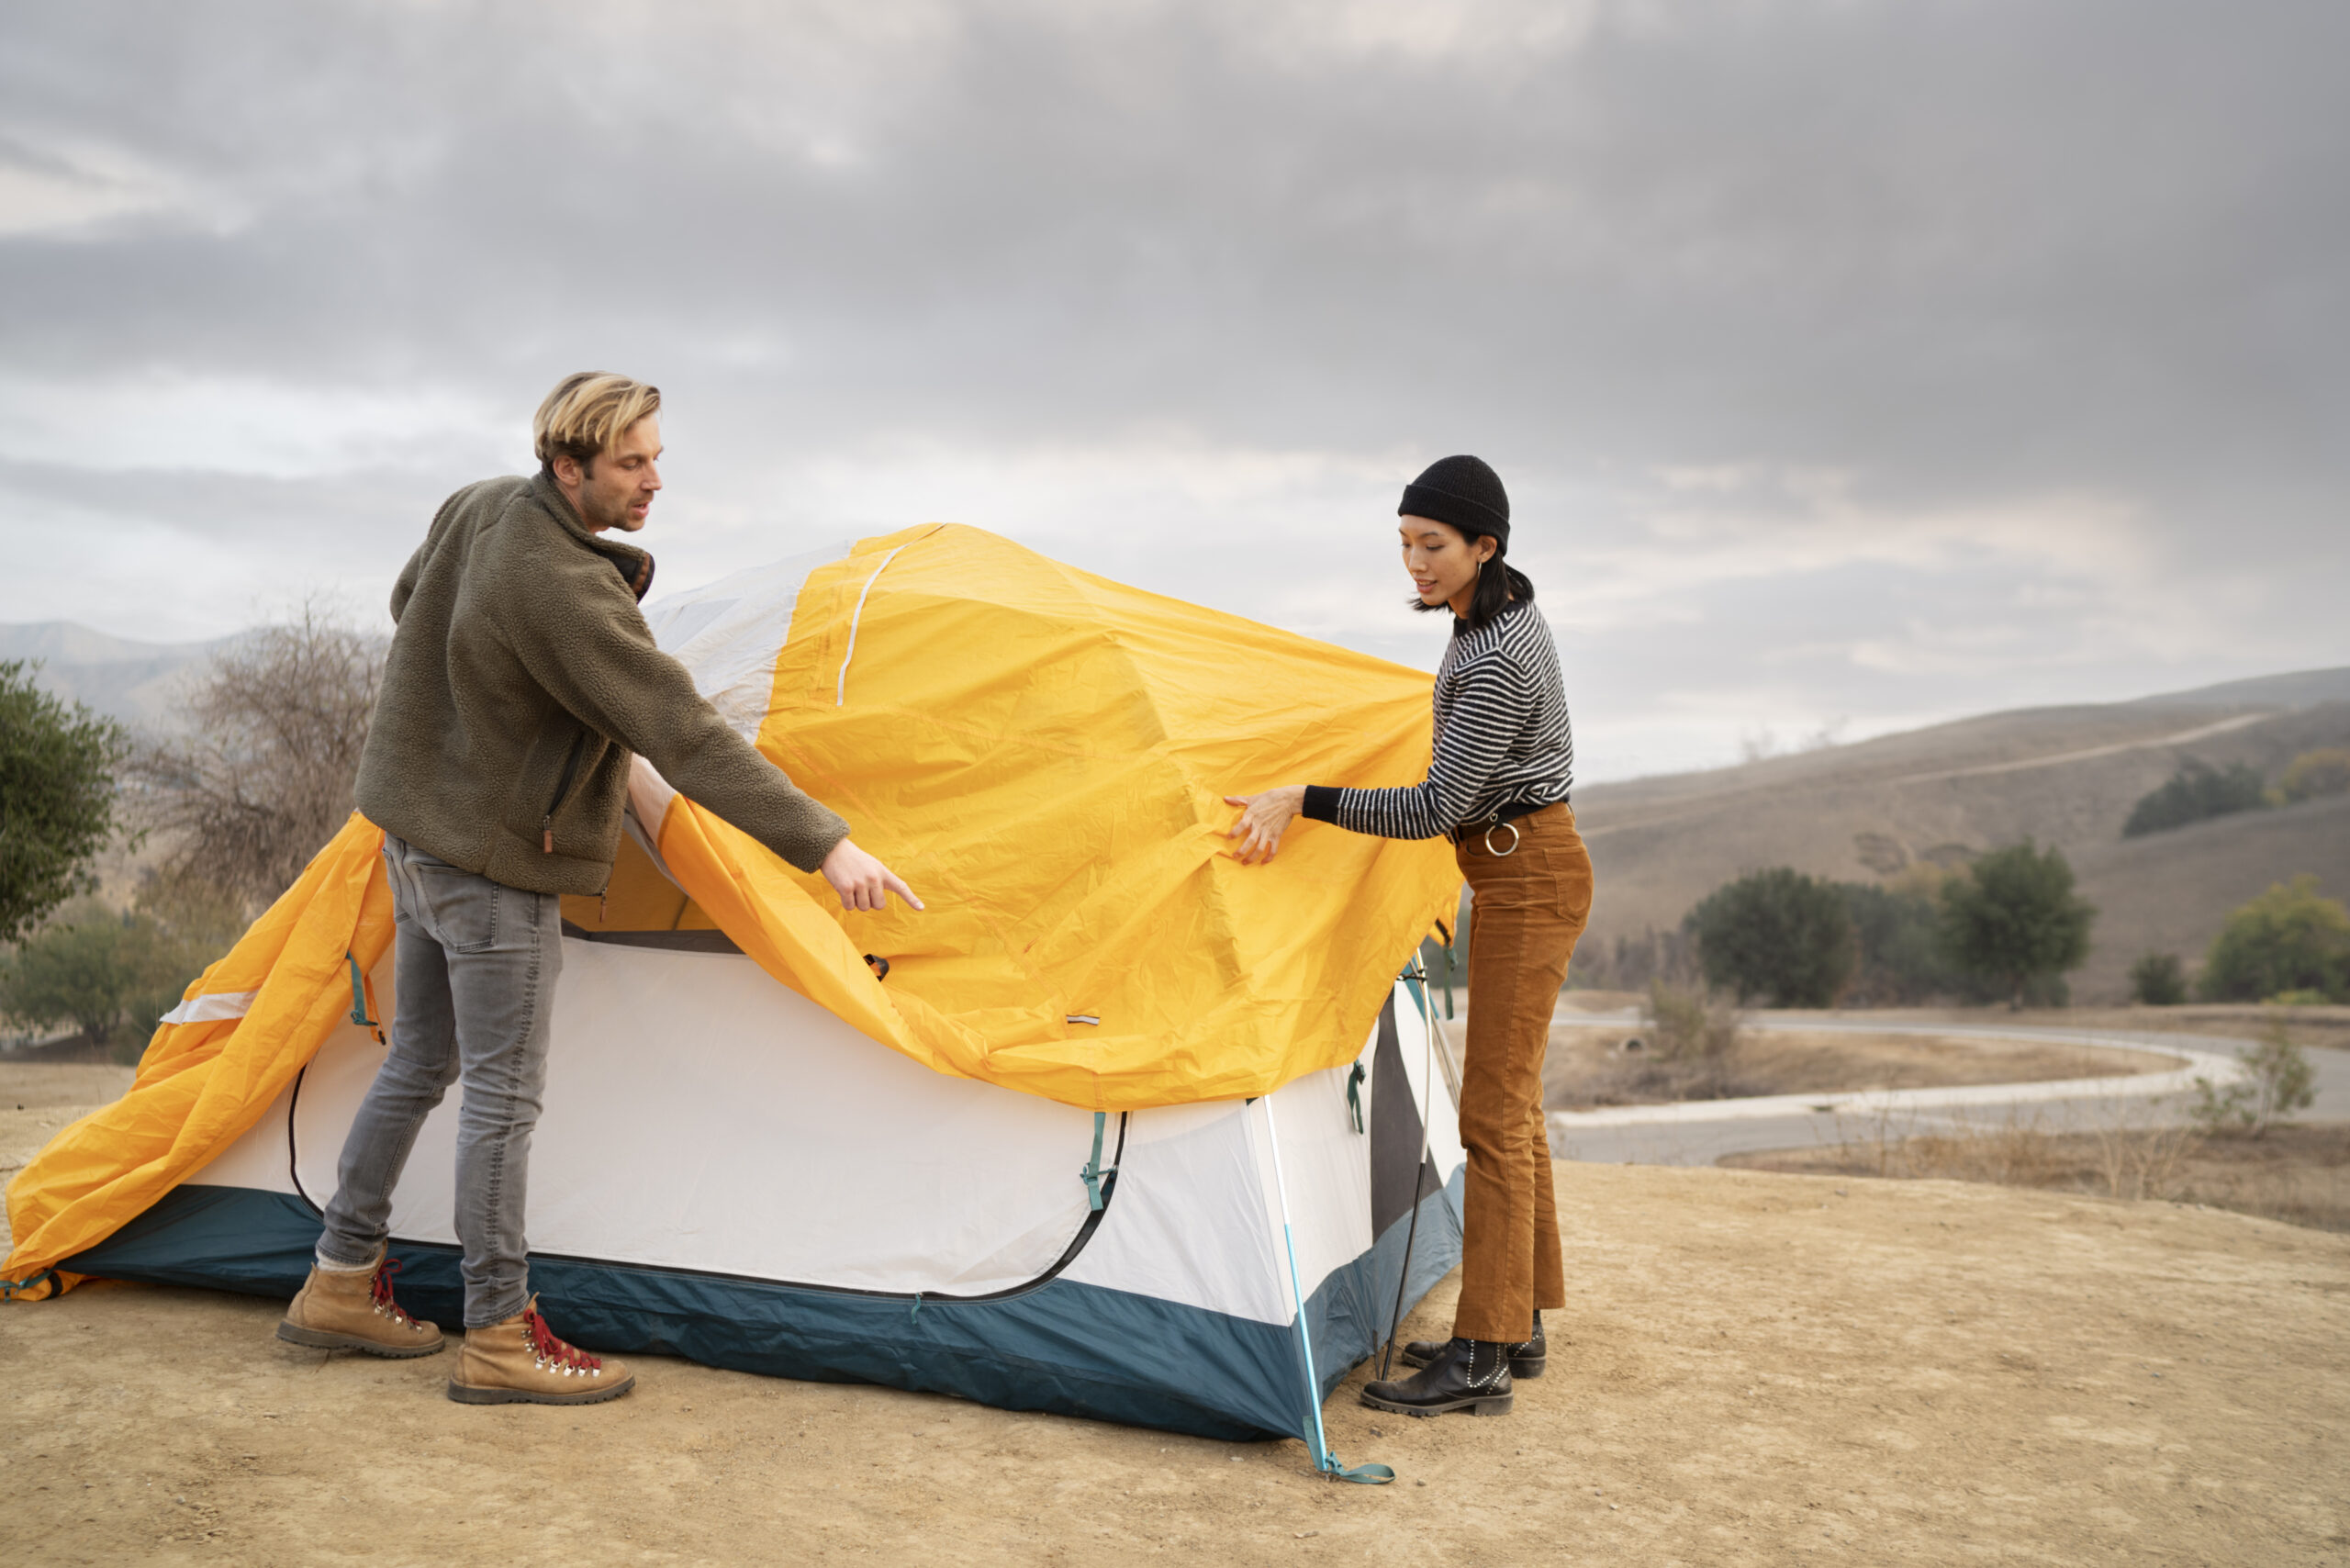
Tent Assembly Basics: A Beginner’s Guide to Setting Up a Tent Correctly
A tent is one of the most important pieces of camping equipment. It serves as your temporary home outdoors, protecting you from rain, wind, insects, sun exposure, and changing weather conditions. While modern tents are designed to be user-friendly, many campers still struggle with setup, especially when assembling a tent for the first time.
Understanding tent assembly basics can save time, reduce frustration, and help ensure a comfortable camping experience. Whether you’re camping at a developed campground, attending a festival, or exploring the backcountry, knowing how to properly set up your tent is an essential outdoor skill.
Why Proper Tent Setup Matters
A properly assembled tent provides:
- Weather protection
- Increased comfort
- Better ventilation
- Improved stability
- Longer equipment lifespan
Incorrect setup can lead to leaks, poor airflow, structural instability, and unnecessary wear on tent materials.
Taking the time to learn proper setup techniques can significantly improve your camping experience.
Understand Your Tent Components
Before heading outdoors, familiarize yourself with your tent’s parts.
Most tents include:
- Tent body
- Tent poles
- Stakes
- Rainfly
- Guylines
- Storage bag
Review the manufacturer’s instructions before your trip and practice assembling the tent at home.
Choose the Right Campsite
Tent assembly begins with selecting an appropriate location.
Look for:
- Flat ground
- Good drainage
- Natural wind protection
- Minimal rocks and roots
Avoid:
- Low-lying areas
- Flood-prone locations
- Sloped surfaces
- Areas beneath dead trees
A good campsite makes setup easier and improves comfort.
Use a Groundsheet or Footprint
A tent footprint provides an extra layer of protection beneath your tent.
Benefits include:
- Reduced wear on the floor
- Additional moisture protection
- Easier cleanup
Ensure the footprint fits the tent correctly and does not extend beyond the edges.
Lay Out the Tent Body
Spread the tent body flat on the ground.
Identify:
- Front and rear sections
- Door locations
- Pole attachment points
Position the entrance according to your preference while considering wind direction and sunlight exposure.
Assemble the Tent Poles
Most modern tents use shock-corded poles.
To assemble:
- Connect all pole segments.
- Allow elastic cords to guide alignment.
- Ensure sections are fully seated.
Avoid forcing pole sections together, as this can cause damage.
Insert or Clip the Poles
Depending on the tent design:
- Slide poles through sleeves, or
- Attach poles using clips
Carefully follow the manufacturer’s instructions.
Once connected, the tent will begin taking shape.
Raise the Tent Structure
After securing the poles:
- Lift the tent upright.
- Attach corners to pole ends.
- Verify proper alignment.
Freestanding tents become self-supporting at this stage.
Check that the structure appears symmetrical and properly tensioned.
Stake Down the Tent
Tent stakes improve stability and prevent movement.
For best results:
- Drive stakes at a 45-degree angle.
- Pull tent corners taut.
- Secure all stake points.
Proper staking helps the tent withstand wind and weather.
Install the Rainfly
The rainfly provides weather protection.
Attach it by:
- Positioning it over the tent body
- Securing buckles or clips
- Tightening straps
A properly installed rainfly creates a protective barrier while maintaining airflow.
Secure Guylines
Guylines improve stability during windy conditions.
Attach and tension them carefully.
Benefits include:
- Better wind resistance
- Reduced fabric movement
- Improved rain shedding
Many campers underestimate the importance of guylines until strong weather arrives.
Improve Ventilation
Condensation is common inside tents.
Reduce moisture buildup by:
- Opening vents
- Using mesh panels
- Leaving windows partially open when conditions permit
Good airflow improves comfort and reduces interior dampness.
Breaking Down the Tent
When packing up:
- Remove debris.
- Allow the tent to dry.
- Remove stakes and guylines.
- Fold the tent carefully.
- Store components properly.
Avoid storing wet tents for extended periods.
Moisture can cause mold, mildew, and fabric deterioration.
Common Beginner Mistakes
New campers often make several avoidable errors:
- Choosing poor campsites
- Skipping stakes
- Improper rainfly installation
- Ignoring ventilation
- Packing tents while wet
Awareness of these mistakes helps prevent problems.
Conclusion
Learning tent assembly basics is one of the most valuable skills for any camper. Proper setup ensures protection from weather, improves comfort, and extends the life of your equipment. By understanding your tent’s components, choosing an appropriate campsite, following assembly steps carefully, and practicing before your trip, you can confidently create a reliable outdoor shelter. Whether you’re embarking on your first camping adventure or refining your outdoor skills, mastering tent assembly will contribute to safer and more enjoyable experiences in the outdoors.
Recent Posts
- National Forest Dispersed Camping: The Ultimate Guide to Camping on Public Lands 06/04/2026
- Jeep Rubicon Capabilities: What Makes It One of the Most Capable Off-Road Vehicles on the Market 06/04/2026
- Tent Assembly Basics: A Beginner’s Guide to Setting Up a Tent Correctly 06/04/2026
- Building a Campfire: A Complete Guide to Creating Safe, Efficient, and Enjoyable Campfires 06/04/2026
- Roasting the Perfect S’more: The Ultimate Campfire Guide 06/04/2026